 GZ New Nail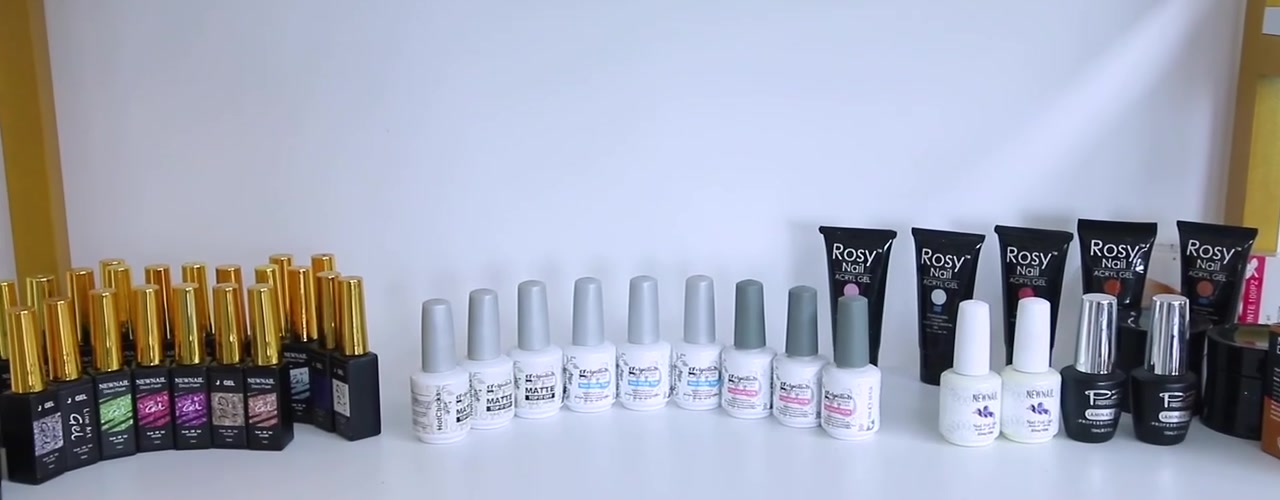
Compare the main components
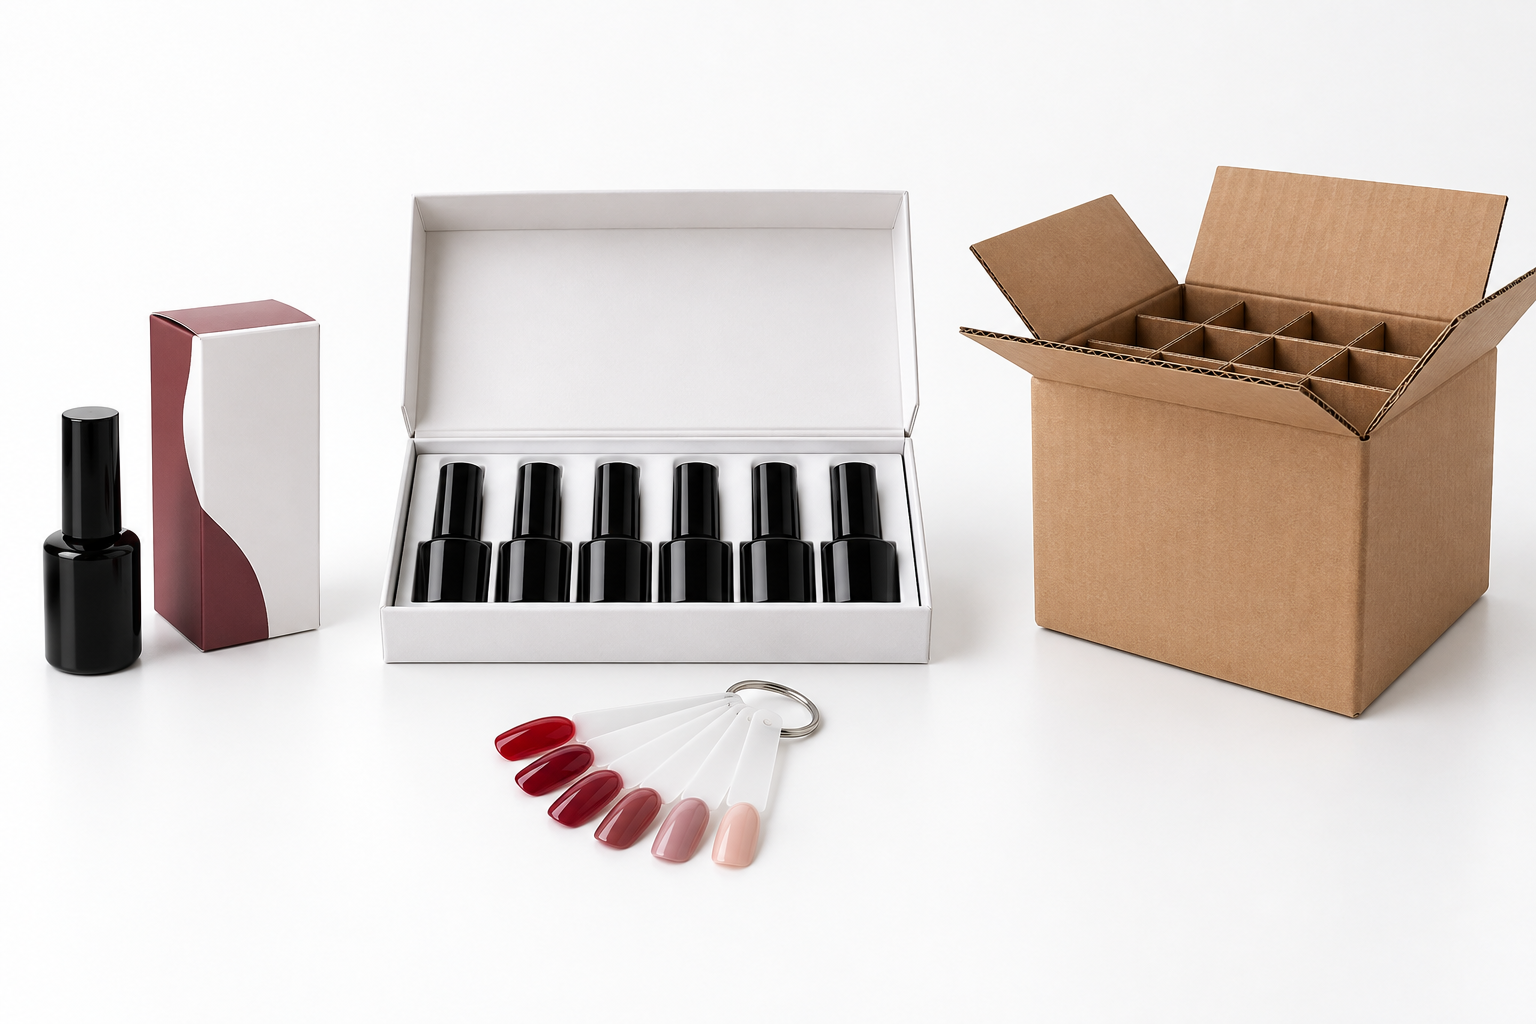
| Component | Key decisions | Check before approval |
|---|---|---|
| Bottle or jar | Material, size, opening, shape and light protection where needed | Formula compatibility, stability evidence and usable fill specification |
| Cap and seal | Grip, closure design and sealing components | Secure fit, repeat opening and leakage under agreed conditions |
| Brush | Width, profile, flexibility, length and material | Product pickup, controlled application, shedding and bottle access |
| Label or direct print | Printable area, decoration process and durability | Legibility, adhesion, abrasion and relevant product-contact resistance |
| Retail box | Board, structure, finish and text area | Fit, print quality, protection and required information |
| Color card | Swatch method, shade IDs and revision | Consistency with the approved shade reference |
| Kit and insert | Product mix, compartment fit and presentation | Movement, breakage risk, correct contents and transport protection |
Match packaging to the product
A decorative bottle is not automatically suitable for every formula. Light-curable products, solvent-containing products, powders and oils may require different materials and protection. Ask for evidence relevant to the actual formula-container combination rather than relying on a component supplier's generic claim.
Define nominal capacity and declared net content separately. Confirm where batch information and any required labeling will appear. Leave sufficient space for destination-specific text before finalizing artwork.
Compare total cost, not only the bottle price
Ask for separate prices and minimum quantities for the container, cap, brush, decoration, box, inserts and assembly. Identify tooling or setup costs, component lead times, spare-component arrangements and ownership of unused printed stock.
Stock packaging with custom labels can be a useful option to compare with custom-molded packaging; request actual quotations and constraints rather than assuming either option is always cheaper or faster.
Approve an assembled sample
Check the filled container, cap, label and box together. Confirm that the brush works with the formula and that the product fits the insert without excessive movement. Agree on transport testing appropriate to the route and product. A well-presented sample delivered once does not establish performance across all shipping conditions.
Control shade and kit information
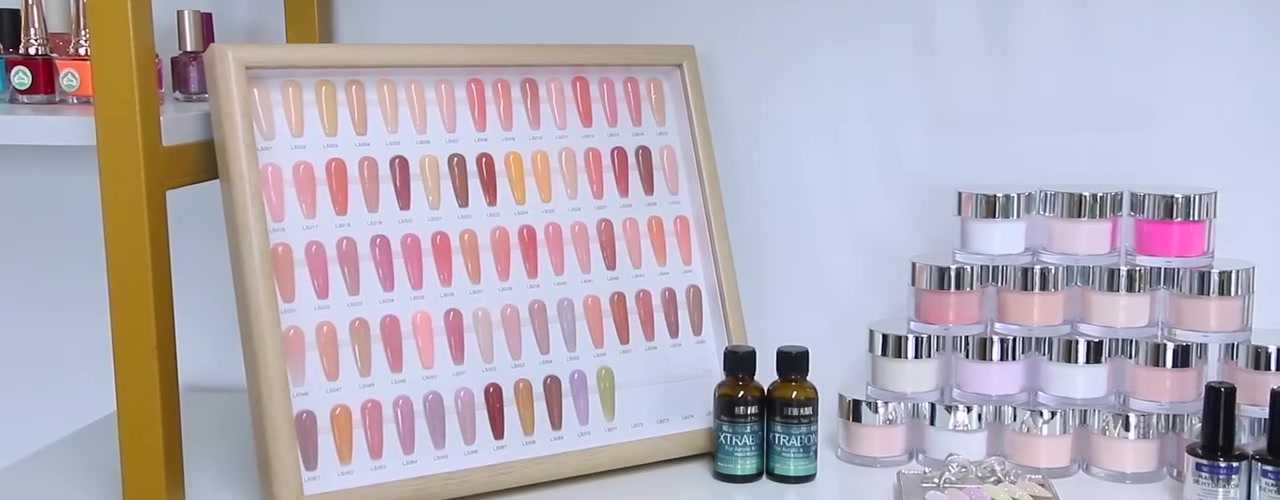
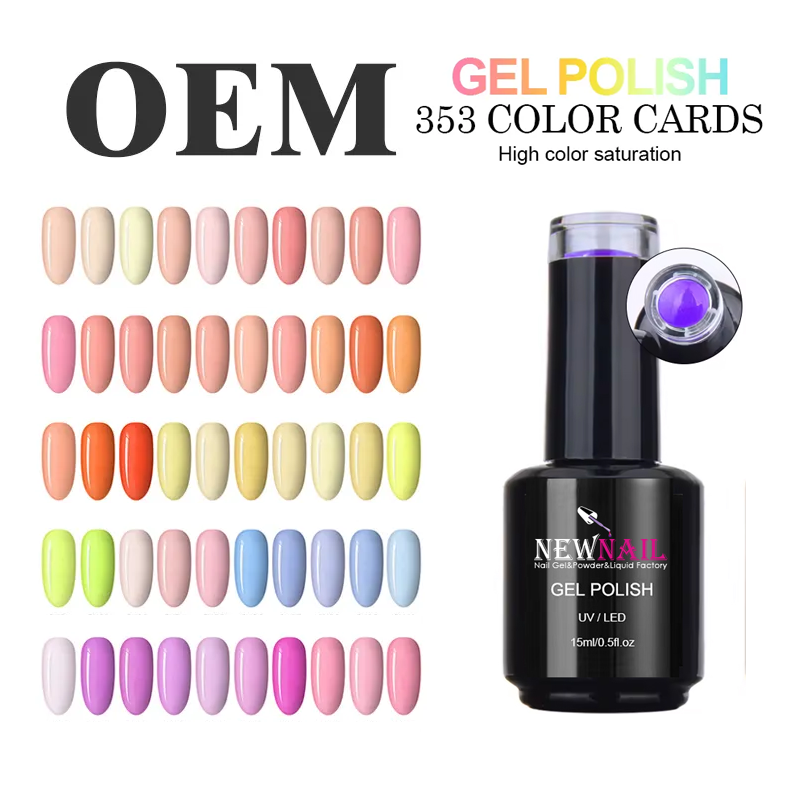
Give every shade and kit configuration a stable identifier. Keep the color card revision linked to the formula and collection list. Printed colors and screen images should not replace agreed physical shade standards.
For kits containing lamps or other equipment, assess those items' documentation and labeling separately from the cosmetics. A kit does not make the same requirements apply to every component.
Common questions
Should I choose labels or direct printing? Compare readability, durability, appearance, minimum quantities, revision flexibility and total cost using physical samples.
Can I use the same bottle for several products? Validate each relevant formula and packaging combination; matching dimensions alone is insufficient.
When should box artwork be finalized? After the contents, container dimensions and required label information are settled.
Decoration routes and reorder controls
Compare applied labels, direct printing, bottle coating and hot foil using physical samples. Confirm setup or tooling charges, alignment, durability and component minimums. Check label fit on curved surfaces, coating consistency and the legibility of barcode artwork.
Specify headspace, closure settings, units per carton, dividers and carton marks alongside the filled sample. Keep component codes, artwork files and approved packaging samples as reorder references.
Gel polish carton specification: 360 PCS
GZ New Nail confirms 360 gel polish bottles per master carton. Confirm the bottle size, shade breakdown, inner packing, carton dimensions and gross weight on the order packing specification. Do not apply this count to other nail products or presentation kits.
Before shipment, reconcile the shade/SKU quantities, 360-bottle carton count, carton marks and packing list. The carton quantity is supplier-confirmed; it is not a count established by the video.